|
A router table is an invaluable tool for woodworkers of all experience levels. It can speed up the process of routing pieces of wood and can be a huge time saver in certain situations. 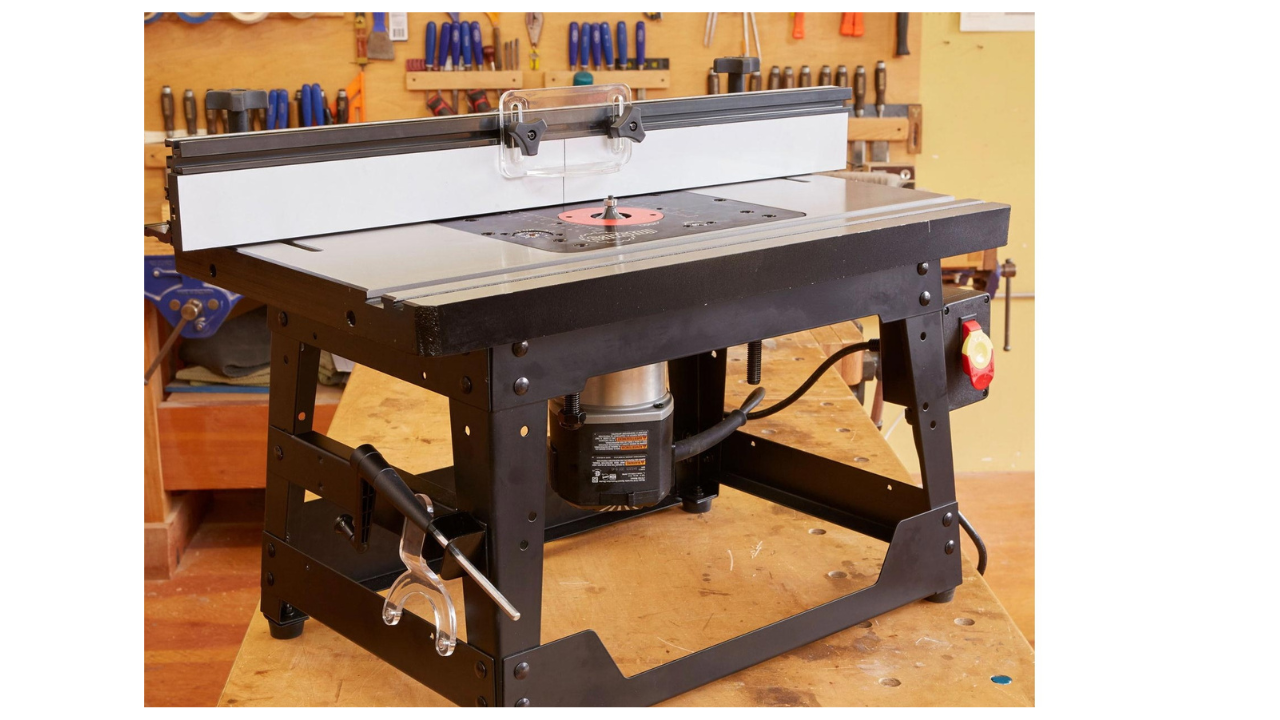 9 steps for using your router table for woodworkingIf you're a woodworker, you know that having a router table is essential for precision cutting. But what do you do with it? Here are 9 steps for using your router table to its fullest potential. Step 1: Make sure you have the right bits and tools. You'll want at least a spade bit (spacer), round over bit, a straight bit, a flush trim bit, laminate router bit, and a plunge cut bit. In addition, you might need a few other specialty bits depending on what project you're working on. Step 2: Plan ahead before starting any project. If you have enough space, you would probably want to plan where you'd like everything to end up. Don't expect to throw something together at the last minute if you haven't planned a layout. Step 3: Measure twice cut once! When using the router, measure twice and cut once. That means ensuring you've got everything set up correctly before beginning the cutting process. It's easier to change things after they've been messed up than redo them afterward. Step 4: Use the correct depth setting. There should only be about 0.25-0.50mm between the base plate and the surface being routed. An excellent way to check this is to put a piece of tape down on the base plate, then move the router over until the tape touches the top side of the workpiece. Step 5: Keep safety in mind. Be careful not to bump your router while doing specific tasks. Also, keep yourself away from moving parts and sharp edges. Step 6: Clean up often. After completing a task, clean up any messes as soon as possible, especially if you use glue or adhesive products. Otherwise, your project could start smelling bad fast. Step 7: Read the instructions carefully. Every manufacturer makes different recommendations on how long each step takes and how much pressure to use. Always follow the directions given by the manufacturer. Step 8: Work slowly. While the motor may seem powerful, it isn't. Take your time and work methodically. Only do two passes per pass cycle. Your project shouldn't take longer than 30 minutes in total. Step 9: Remember those tools? Once your project is complete, it's important to pack up all your tools properly. Store them safely and keep track of them so you won't lose anything. ConclusionIn conclusion, a router table can be a handy tool for woodworkers. It can save you time and make your job easier. However, there are a few things to keep in mind when using a router table, and by following these tips, you'll be able to get the most out of your router table. So, if you're looking for a way to speed up your workflow while still getting great results, a router table is an excellent option.
0 Comments
|
AuthorWrite something about yourself. No need to be fancy, just an overview. Archives
October 2022
Categories
All
|
 RSS Feed
