|
A router table is an invaluable tool for woodworkers of all experience levels. It can speed up the process of routing pieces of wood and can be a huge time saver in certain situations. 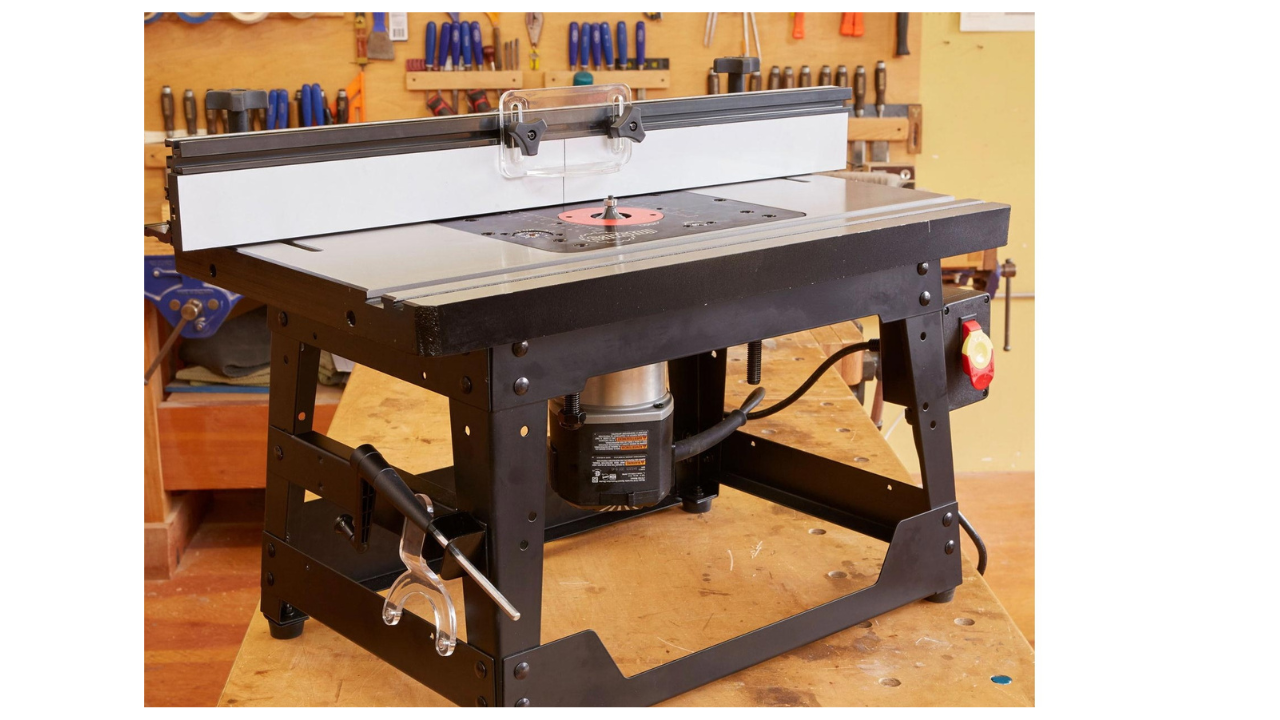 9 steps for using your router table for woodworkingIf you're a woodworker, you know that having a router table is essential for precision cutting. But what do you do with it? Here are 9 steps for using your router table to its fullest potential. Step 1: Make sure you have the right bits and tools. You'll want at least a spade bit (spacer), round over bit, a straight bit, a flush trim bit, laminate router bit, and a plunge cut bit. In addition, you might need a few other specialty bits depending on what project you're working on. Step 2: Plan ahead before starting any project. If you have enough space, you would probably want to plan where you'd like everything to end up. Don't expect to throw something together at the last minute if you haven't planned a layout. Step 3: Measure twice cut once! When using the router, measure twice and cut once. That means ensuring you've got everything set up correctly before beginning the cutting process. It's easier to change things after they've been messed up than redo them afterward. Step 4: Use the correct depth setting. There should only be about 0.25-0.50mm between the base plate and the surface being routed. An excellent way to check this is to put a piece of tape down on the base plate, then move the router over until the tape touches the top side of the workpiece. Step 5: Keep safety in mind. Be careful not to bump your router while doing specific tasks. Also, keep yourself away from moving parts and sharp edges. Step 6: Clean up often. After completing a task, clean up any messes as soon as possible, especially if you use glue or adhesive products. Otherwise, your project could start smelling bad fast. Step 7: Read the instructions carefully. Every manufacturer makes different recommendations on how long each step takes and how much pressure to use. Always follow the directions given by the manufacturer. Step 8: Work slowly. While the motor may seem powerful, it isn't. Take your time and work methodically. Only do two passes per pass cycle. Your project shouldn't take longer than 30 minutes in total. Step 9: Remember those tools? Once your project is complete, it's important to pack up all your tools properly. Store them safely and keep track of them so you won't lose anything. ConclusionIn conclusion, a router table can be a handy tool for woodworkers. It can save you time and make your job easier. However, there are a few things to keep in mind when using a router table, and by following these tips, you'll be able to get the most out of your router table. So, if you're looking for a way to speed up your workflow while still getting great results, a router table is an excellent option.
0 Comments
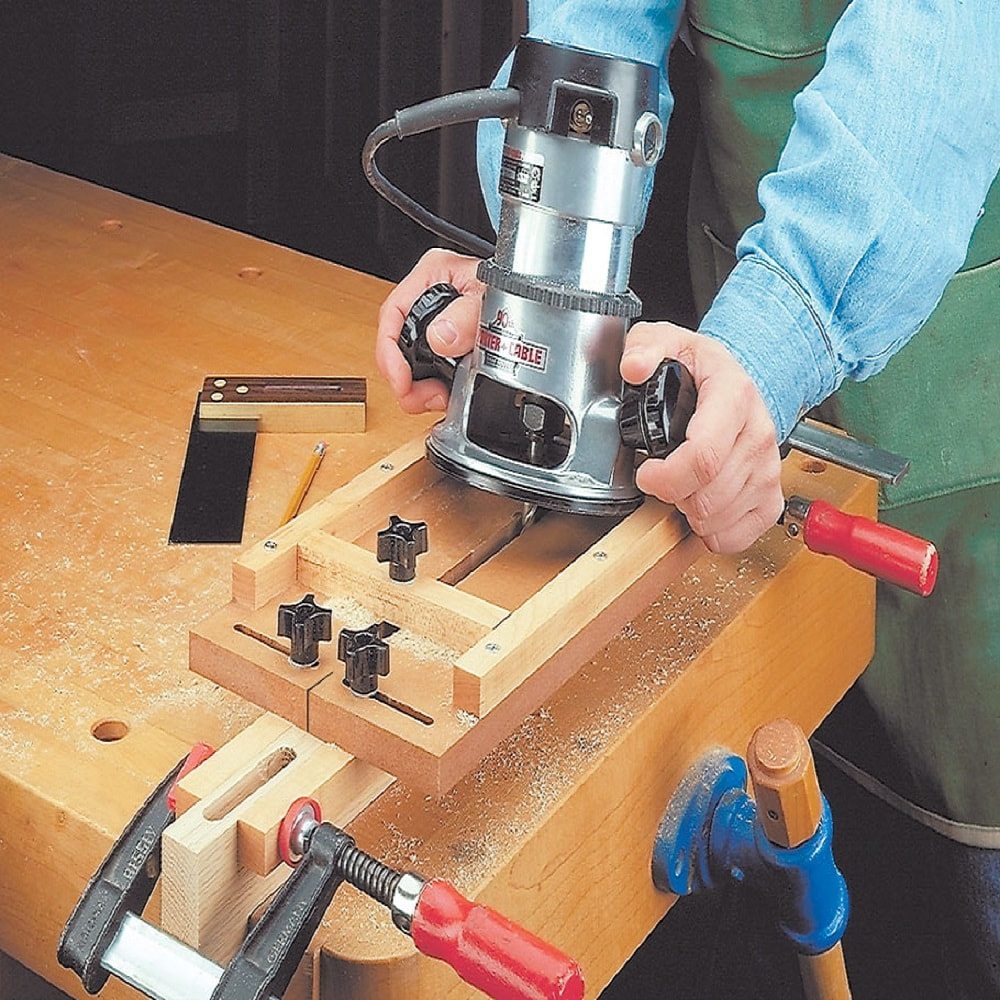 Wood Router Tools Guide How to Properly use Wood Router Tools for a Perfect Router Job If you're an enthusiastic woodworker, chances are you've used a router at some point. But your projects will suffer if you're not using your router properly. This guide will teach you the basics of properly using a router, so your projects look their best. How to use a wood router tools for the perfect jobYou should keep a few things in mind when using a wood router: the bit size, the speed, the depth of cut, and the type of wood. Here's an expert guide on how to use a wood router for the perfect job. 1. Be careful not to overheatOverheating the tool while using it will cause a duller cut than we want. Also, don't let your hand slip off the handle at any point. Finally, if you notice that you have been working with the tool for a long time without taking a break, then take some breaks to avoid injuries. 2. Use the right blade sizeIt may be best if you choose the proper sized blade depending on the work you need to do. For example, if you make small holes, you should select a smaller blade. On the other hand, if you plan to go deep, a larger blade would be best suited for you. So make sure to select the proper tool according to the project you have in mind before starting. 3. Don't cut anything elseIf you use the cutter frequently, it is wise to keep a sharp blade. You can sharpen your blades regularly by putting them inside a cup filled with fine sandpaper (you can get these locally). However, you can also purchase a separate knife sharpener to help you sharpen the blade faster. 4. Keep the wood cleanAfter each cutting session, make sure to wipe down the bit with a rag. It helps prevent the buildup of sawdust. Additionally, ensure that your table is clean as well. Dust particles may stick to the wood, causing problems later on. 5. Clean the spindle thoroughlyCleaning the spindle ensures the bit remains sharp. Next, run a razor across the top of the bit to remove the debris stuck to the spindle. Afterward, rinse both sides of the spindle thoroughly under running water. 6. Store the tool properlyStore the bit covered with oil to protect it from rust and corrosion. Never leave the tool outside, as rainwater could damage the spindle. Instead, store the tool in its original packaging until you intend to use it again. 7. Take care when storing the toolKeep the tool out of direct sunlight to prevent it from drying out. When storing the tool, place it vertically so that the blade faces upwards. It prevents the bit from getting bent out of shape. Furthermore, ensure that the handle is facing away from you, making it easier to hold onto and operate. 8. Cutting Time!To avoid cutting yourself, focus on keeping your wrists straight and keep the saw moving at all times; it may sound basic, but many people tend to lock their joints and do not use enough pressure. You want to stay focused and move smoothly throughout the project to ensure the best results. Make sure to always read the manufacturer’s manual before using the tool. Bottom LineIn conclusion, the wood router tools guide covers the proper way to use a router for a perfect job. Follow the steps, and you will be able to achieve the desired results in no time! So get out there and start routing some amazing pieces of wood!
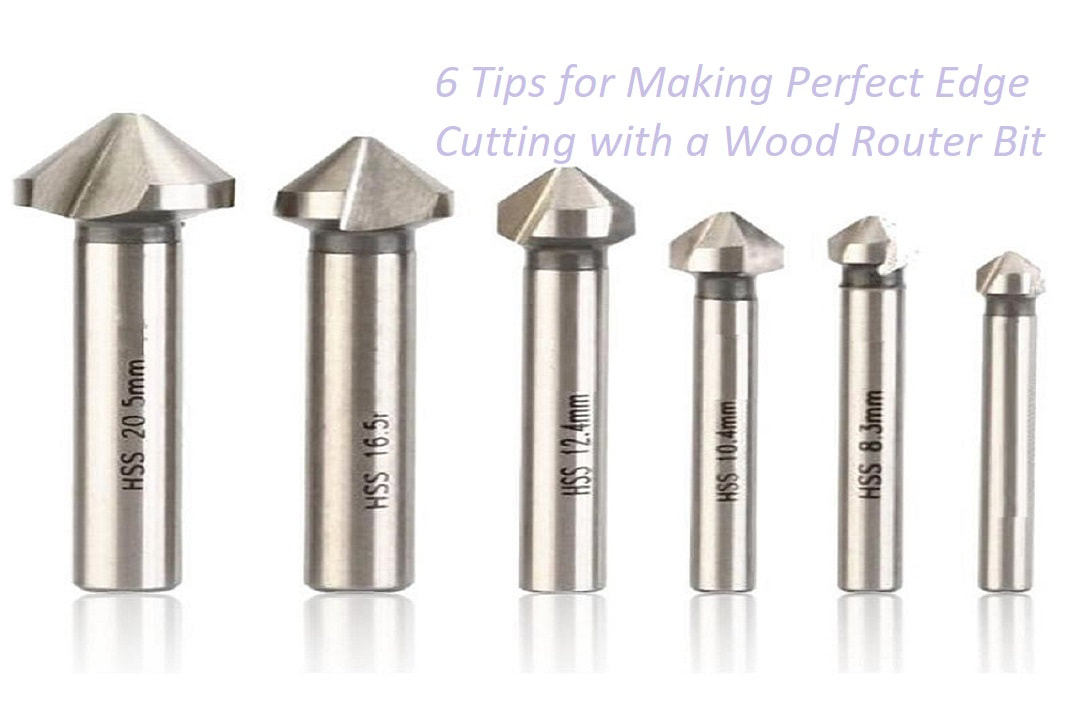 6 Tips for Making Perfect Edge Cutting with a Wood Router Bit Tips for Making Perfect Edge Cutting with a Wood Router BitDo you love the look of perfectly sharp edges on your wood projects? If so, you'll love using a wood router bit! Here are 6 tips for making perfect edge cutting with your router: 1. Make sure your bit is sharpThe first step anyone would do if they were going to make perfect edge cuts is to sharpen their wood router bits. A dull bit will not get the job done right. Using good quality cutting tools is always recommended, but using a sharpening stone makes a big difference when making accurate cuts. Don't forget to clean up any metal shavings left behind after sharpening. I recommend using a ceramic hone over a wooden board. This will leave no residue whatsoever. 2. Use the correct sized hole cutterHaving the proper size hole cutter for the particular project you're working on is critical. You don't want to cut out a huge hole where you only need a small one. On the other hand, using the wrong size bit could lead to an inaccurate result. Try using different sizes until you find one that works best before moving on to the next step. 3. Start with a smooth piece of woodYou should never put sandpaper down onto rough surfaces, especially when making precise cuts. You can move smoothly without worrying about damaging the surface by starting with a smooth surface. When cutting out an edge, don't cut too quickly. If you're rushing through the edges, they won't look smooth., you might accidentally rip out some of the wood around the edges. 4. Rotate your workpieceAs mentioned earlier, it's always helpful to rotate your workpiece to ensure even results. If you're unsure whether something is supposed to be parallel or perpendicular to the table, just flip the board over and check it again. 5. Keep watchful eyes on your progressOnce you've started to cut, keep your eyes closed at times and open them only when necessary. There's nothing bad than getting halfway through a task and realizing you missed a spot somewhere. 6. Check your work oftenFinally, once you have finished cutting, take a close look at your masterpiece. Is everything sitting perfectly flat? Are the holes lined up correctly? Did you continue into any problems along the way? These last few minutes are critical to ensuring your final product looks exactly how it was intended.6 Tips for Making Perfect Edge Cutting with a Wood Router Bit. Bottom Line In conclusion, the following above tips will help you make perfect edge cutting with your router bit. Practice makes perfect, so keep at it, and you'll soon be creating beautiful cuts with ease!
|
AuthorWrite something about yourself. No need to be fancy, just an overview. Archives
October 2022
Categories
All
|
 RSS Feed
