|
The best way to use the router is to understand how to use the machine. When you start working with the BOSCH router, you will find its capabilities almost limitless. You can make any decorative edge, groove, or dado in wood. The best way to do this is to follow instructions carefully. 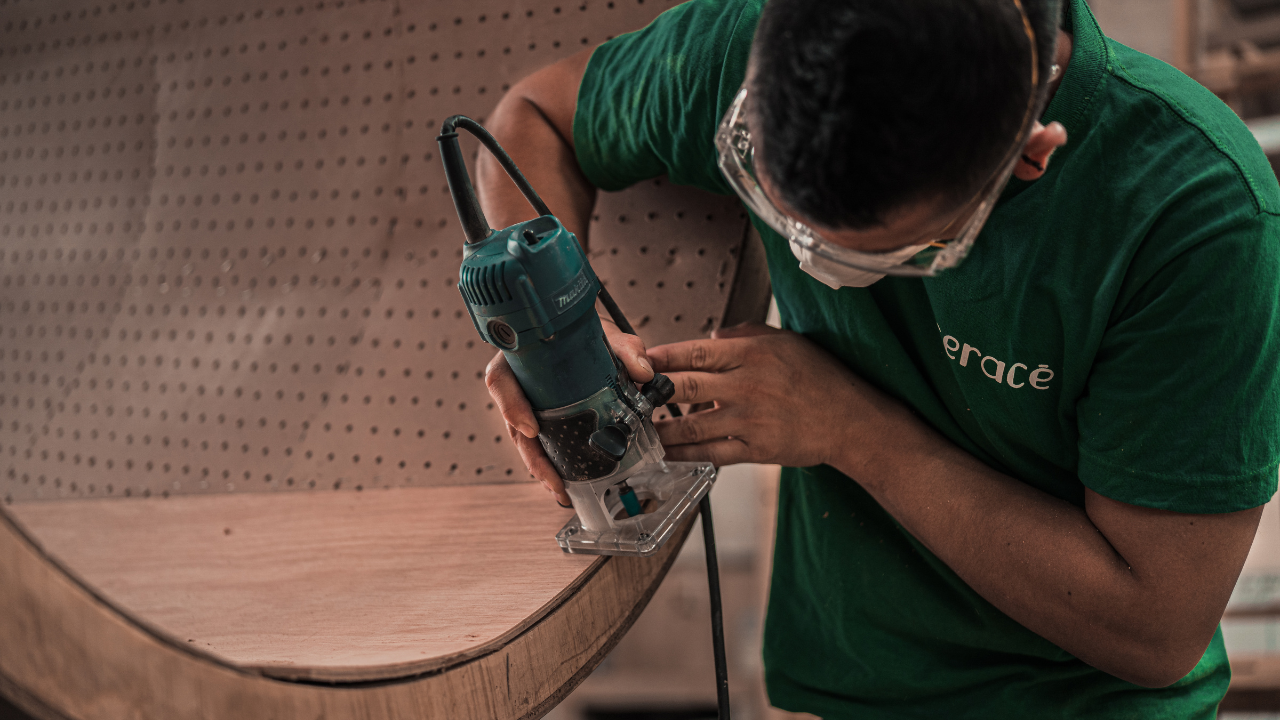 How to Use the BOSCH Router The Ultimate Guide to Using the BOSCH Router for Decorative Edges, Grooves, and DadosThe BOSCH router is great for decorative edges, grooves, and dados. When used correctly, the router can handle a variety of tasks. Here are some tips to get the most out of the BOSCH router:  Using the BOSCH Router for Decorative Edges 1. Prepare your workpiecePreparing your workpiece is key to a successful project. Remove any nails and dust, then test the wood by making a shallow cut. Make sure the wood is tightly secured to the table before making any deeper cuts with the router. 2. Install the right Router BitThe router bits you use will depend on what type of grooves and dados you're trying to create in your woodwork. Choose an edge-forming or specialty bit for decorative edges or elaborate embellishments for these applications. Be sure to select one that fits your model of BOSCH router and check that it has a non-kickback design for safety purposes. 3. Set Up Your Router Table Once you have the correct router bits installed, adjust the height of the router so that it's at the same level as your workpiece. This setting should go from either side of the fence and from above when calibrating with a T-bar caliper tool (sold separately). Lock the height of the router in place by tightening its knobs securely at each corner of the base plate assembly after testing in multiple spots along your workpiece. 4. Make Test Cuts on Scrap WoodOnce you have everything set up, practice using scrap wood as a test run before using your real material. It's important to be familiar with how much pressure works best when starting out, as well as to get comfortable using different feed patterns, which can include running clockwise or counterclockwise against a fixed edge or without one at all. Also, try varying depths when working in grooves or dados if needed. 5. Make Passes With The RouterWhen routing aromatic cedar, always go from left (downward) to the right (upward) passes so (when making rabbets/dads). When making passes remember to move slowly or slowly as results may vary. Also, wear equipment such as eye protection and hearing protectors as required. Do this for each pass until desired profile is achieved along the entire board lengthwise surface grain, which helps ensure accurate cutting results. Round edges tend to splinter less than straight ones. 6 Use A Straight Edge To Guide A CutYou can easily guide dados and groove cuts by connecting two points with a straightedge attached firmly between them while keeping it parallel against the side walls of template openings at all times throughout operation; this will help maintain consistent depth while routing down boards widths scrap pieces should act as a support underneath routed areas prevents chip out/tear out during slower sections. 7 Double Check Results And FinishingMake sure every pass goes smoothly by verifying clean cuts before moving on to the next depth, especially around board ends which may require continued passes due to reshaping wear caused by small changes that occurred. Material density woods like redwood require extra attention since their resinous nature leads to softer sections breaking away easier than others; finish off the project sanding the surface down smooth grade 220grit paper employing hand plane fine-tuning. In conclusion, the BOSCH Router is a great tool for decorative edges, grooves, and dados. It has a wide range of capabilities and is easy to use.
0 Comments
A plunge router is a helpful tool for the perfect woodworking project. Using a plunge router, you can get the perfect fit for each piece of furniture. This tool will help you save time and money on your next project. 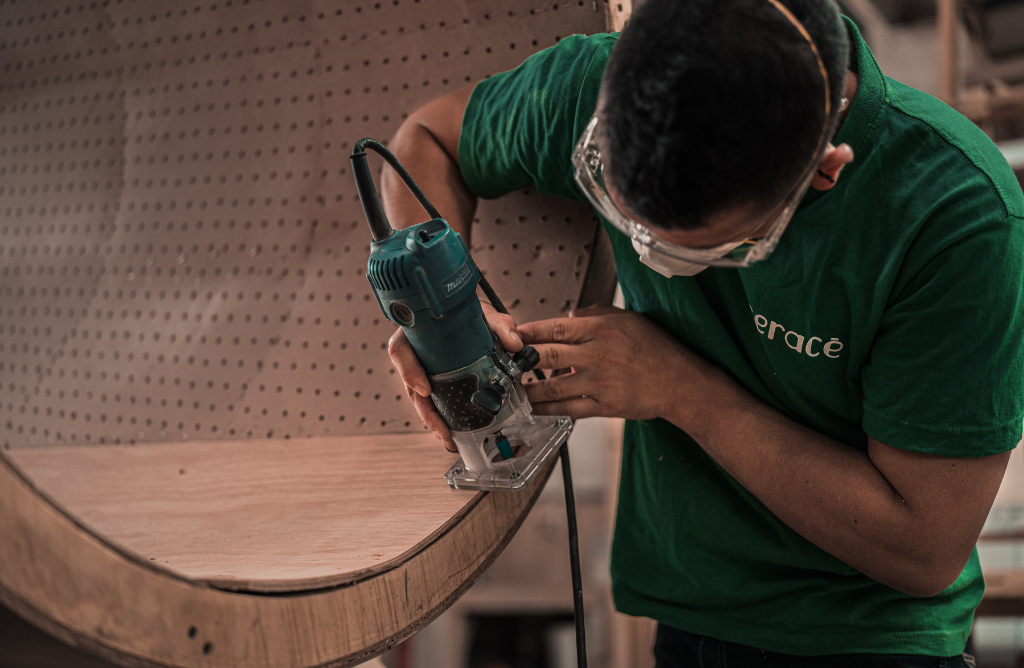 How to Use a plunge router It is important to use the plunge router correctly for the best results. One of the most common problems that beginners have is using the wrong settings on their plunge routers. Most novice users need to understand what the plunge router settings mean. For the best results, it is essential to understand what each setting on your plunge router does. You should adjust the settings according to your requirements. These adjustments include the depth, height, and length of the cut. If you know the correct setting, you can get the best results. It would help if you always used the plunge router at least half an inch away from the surface of the material. Using a plunge router in conjunction with other tools is a good idea. The best ways to use a plunge Router for your next woodworking projectIf this is your first time working with a plunge router, or if you need to gain the experience or knowledge to do the job right, The following tips can help simplify your next woodworking projects.  Best ways to use a plunge Router 1. Straight Edge FencesA plunge router is an excellent tool for making straight-edge fences. By setting your plunge router on the material, you can ensure all sides have an even depth, allowing for precise straight planes in all workpiece areas. 2. Template Guide SleeveThe template guide sleeve makes it easy to set a specific distance between your bit and the edge of your fence when done with a plunge router. This allows for much simpler routing than without the template guide sleeve. 3. Edge ProfilingUsing a plunge router is one of the best and safest ways to do edge profiling on your woodworking projects. Whether sanding down sharp edges, creating dadoes, or even contouring wood pieces, a plunge router can make the process easier and more precise. This technique allows you to cut intricate designs into wood, creating decorative shapes and patterns. 4. Drilling Through HolesAnother great way to use a plunge router is to drill through holes in woodworking projects. You can adjust the depth according to how deep the hole needs to be so that you don't accidentally overcharge it. 5. Edging & Trim WorkPerfectly edging small or large surfaces can be achieved with ease using a plunge router, thanks to its plunging action that gives you control over how deep your bit cut goes while trimming edges of anything from cabinets and crown moldings to furniture pieces like chairs or bed frames. It's ideal for finishing job-site work or complex home improvement projects! 6. Doors and Window CutsA plunge router is essential when creating doors or windows as it produces accurate results due to its steady base and excellent depth control, making the cut smooth and finished effectively. 7. Specialized ShapesSuppose you need to create unique or specialized shapes in your projects, such as circles, round edges, or curved cuts. In that case, the plunge router will give you exact accuracy due to its depth setting capabilities, allowing you to control precisely how deep into the material you want to cut. 8. Secure Your WorkpieceSecurely clamp down your workpiece with two clamps or two hands before using a plunge router on it. Take extra caution when doing this, as an improper grip on a slippery surface may cause an injury. If a router table is available, make sure to secure your workpiece onto it before cutting. 9. Prepare the Router Bit & Set the Depth Of the CutA plunge router generally comes with many interchangeable bits, Be sure to determine which one you need for your project and make sure it's ready before you begin. When setting up the bit, accuracy and attention to detail are essential for a successful job. Make sure it's mounted securely in the collet (clamp), then adjust the depth of cut accordingly. The depth of cut should be set at most 1/8-inch higher than desired so that you don't take out too much material from the woodworking piece at a time. Final ThoughtsIn conclusion, the plunge Router is an excellent way to use it for your next woodworking project. You can achieve the same results as with a hand router using a consistent depth of cut.
If you're a woodworker who loves to cut wood, then a router saw is one of the most important tools in your shop. It allows you to quickly and easily slice through thick pieces of wood, making it a great way to improve your productivity. But if you're new to the hobby or have never used one, some basic tips can help make your experience with a router saw more productive and immersive. 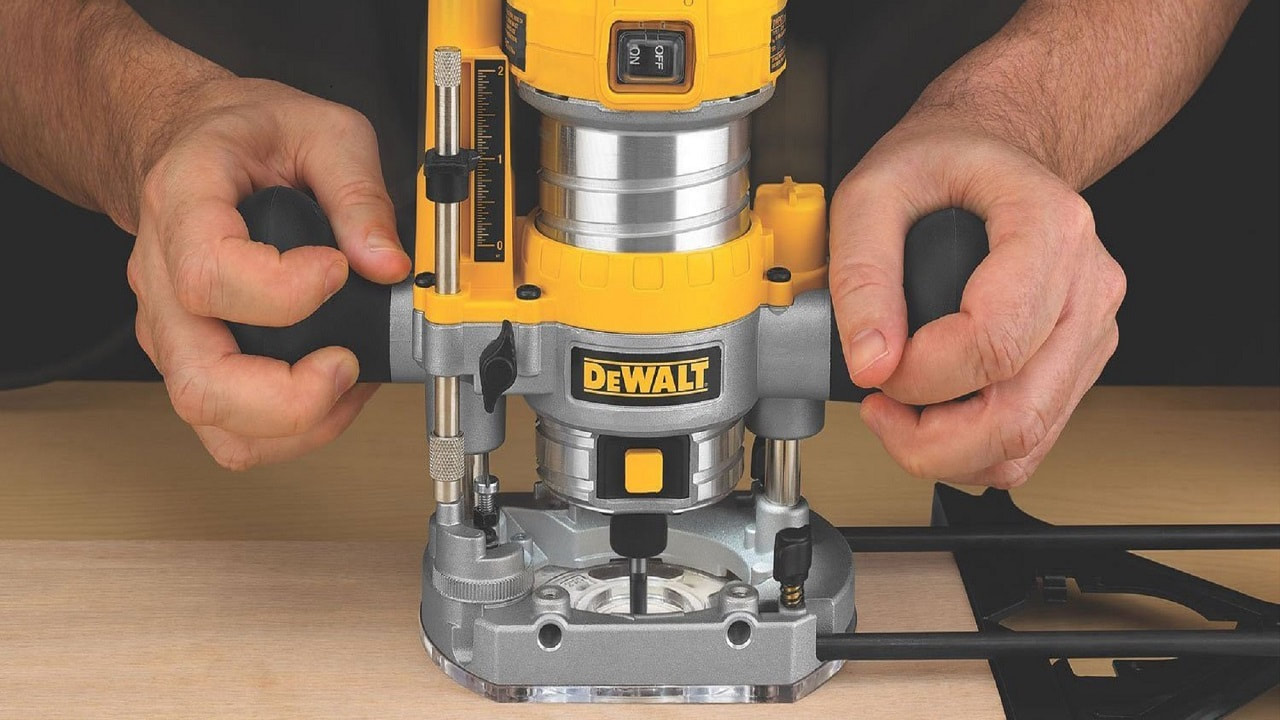 Simple ways to improve your wood router sawing experience
Bottom LineIn conclusion, There are a few simple ways to improve your wood router sawing experience. First, be sure to read the manufacturer's guidelines carefully before beginning. Next, practice making small cuts to get a good feel for how the saw moves and how the bar travels through the wood. Finally, be sure to use a straight edge to help keep the saw blade in line.
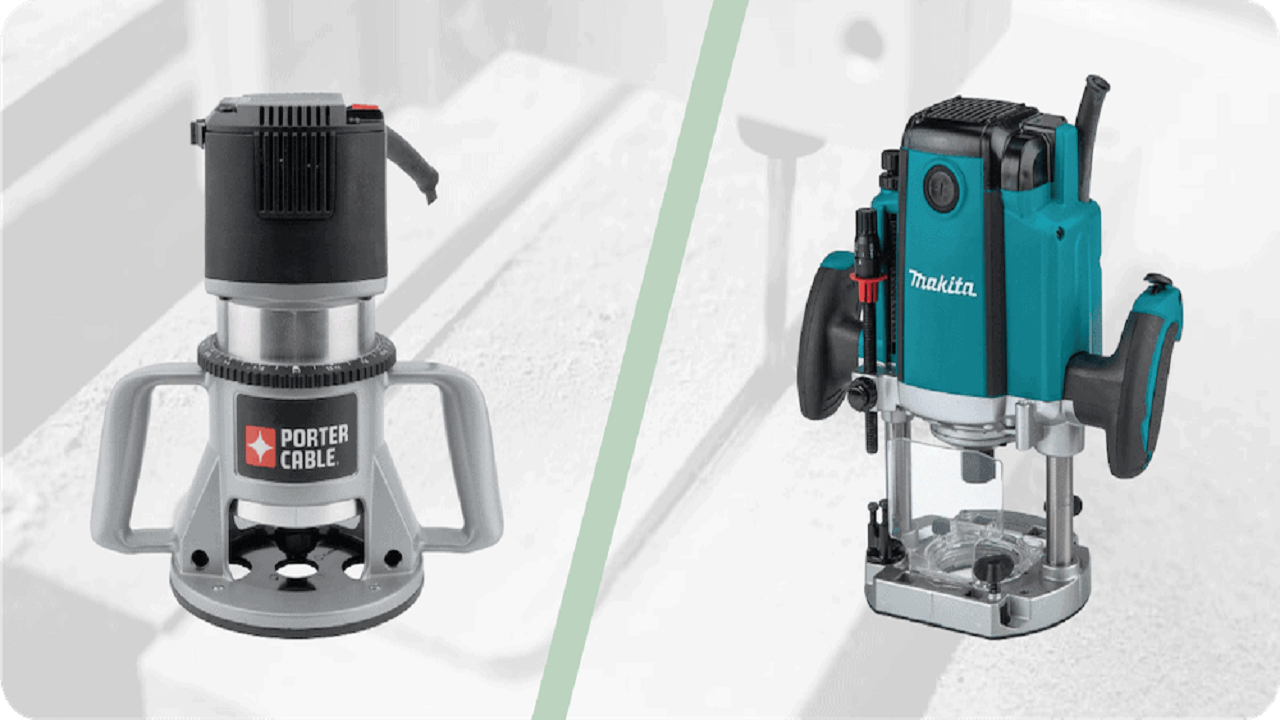 With so many routers on the market, it can be hard to decide which one is right for your woodworking project. Do you want a plunge router that lets you move the workpiece around easily? Or are you looking for a fixed-base router that you can set up in one place and use without ever having to move the machine? This article will compare the two types of routers and help you decide which one is best for your specific needs. There are three basic types of routers. These are fixed-base, plunge-base, and scroll routers. A fixed-base router is like the one you use at home. These are the most common type of routers. They have a table that has a hole in the middle. A workpiece is placed on this table, and then the router is used to cut the workpiece. There are various kinds of routers with different features. Some have a table with a hole in the middle, while others have a sliding table. These types of routers are called plunge-base routers. The plunge base is helpful if you want to move the workpiece while you cut. A router with a sliding table is called a scroll router. The scroll router allows you to move the workpiece in any direction. Scroll routers are very useful if you have to make a lot of cuts. It is also possible to attach a guide to a router to make the cut along a line. This type of router is called a jig. You will also need to decide whether you want a fixed base or plunge router. You can use a fixed base router if you are making simple projects. However, if you are creating complex projects, you might want to get a plunge router. Why should I use a fixed-base router?A fixed-base router is very useful. You may not know about the various types of routers. These routers are designed to work with wooden materials. It has an angle blade attached to a base. The base is then placed on top of the surface you want to cut. It helps to steady the router. The tool is then adjusted to cut. A plunge-base router works similarly to a fixed-base router but is made with a different design. The plunge-base router is designed to work with a bit inserted into the tool. This allows the user to make cuts and cuts without having to adjust the tool. The plunge-base router is very useful in areas with many obstacles. Why should I use a plunge router?A plunge router works with a bit that is attached to a bit holder. It makes it easy to control the tool. The plunge router is used to create a cut through a wide variety of materials, but it is not the best choice for cutting thin materials. The plunge router is ideal for cutting through thick material. This router is perfect for making precise cuts through materials like plywood. SummaryIn conclusion, a plunge router is an excellent choice for woodworking projects that need a bit of cutting capacity but don't require the precision and control that a fixed routing system can offer. In addition, a plunge router is an excellent option if you're starting your woodworking journey and need something to get you started. However, a fixed routing system is the better choice if you're looking for a more precise and controllable router.
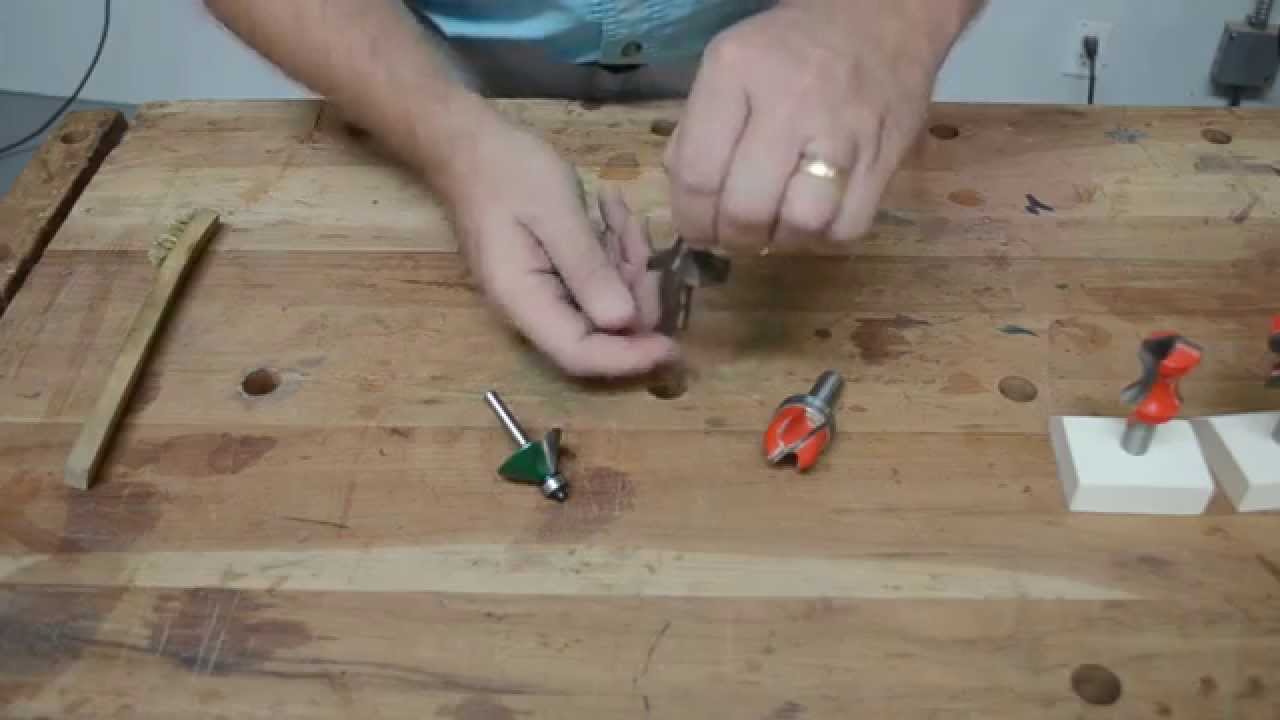 Router bits are small tools used to cut grooves into a piece of wood, such as plywood or particle board. They come in various sizes, but the most common is 1/8 inch. There are several types of bits available. For example, some may include a cutting blade, whereas others don't. Router bits are usually made of steel, although aluminum ones are available. There are also plastic-handled bits. While router bits can be expensive, you shouldn't spend more than $25 for one. If you plan on using your bit often, buying an inexpensive one is advisable. However, if you intend to use your bit infrequently, investing in higher-quality bits is worth it. Sharpen router bits regularly, and you'll save yourself a bit of time on each project. Router bits come in two types:Carbide and metal. Carbide has been used since the early 1900s and remains popular due to its durability. Metal bits are much newer and offer higher performance, particularly when using materials like wood or plastics. Either one works fine depending on the material you plan on cutting, but if you want to maintain maximum performance, sharpen your bits often. How often you sharpen depends on the size of your blade, the type of cut you'll be making, and the material you'll be working with. While most routers allow you to adjust the depth of the cut, don't go too deep, or you'll ruin your bit. Here are five tips for maintaining a sharper router bit 1 Use a Cleaner ToolboxThe toolbox is the first place you should store your router bits. Make sure there is plenty of room in your toolbox, and the tools aren't too tightly packed together. 2 Always Store Bits ProperlyPlace the bit in a dry location, away from heat sources and moisture. Don't leave the bits lying on top of each other. 3 Store Bits in a Dry LocationWhen storing bits, make sure they are kept in a dry area. These means don't let them sit in water or near heat sources. Also, avoid storing bits inside plastic bags. 4 Wash Bits RegularlyWipe off any dirt, dust, and debris from your bits after every use. You should wash the bits in warm soap and water to remove residue buildup. 5 Allow Bits to Air Out To prevent rusting
I hope these suggestions helped maintain a better router bit. Take care, and happy slicing!
|
AuthorWrite something about yourself. No need to be fancy, just an overview. Archives
February 2023
Categories
All
|
 RSS Feed
